October 24, 2026
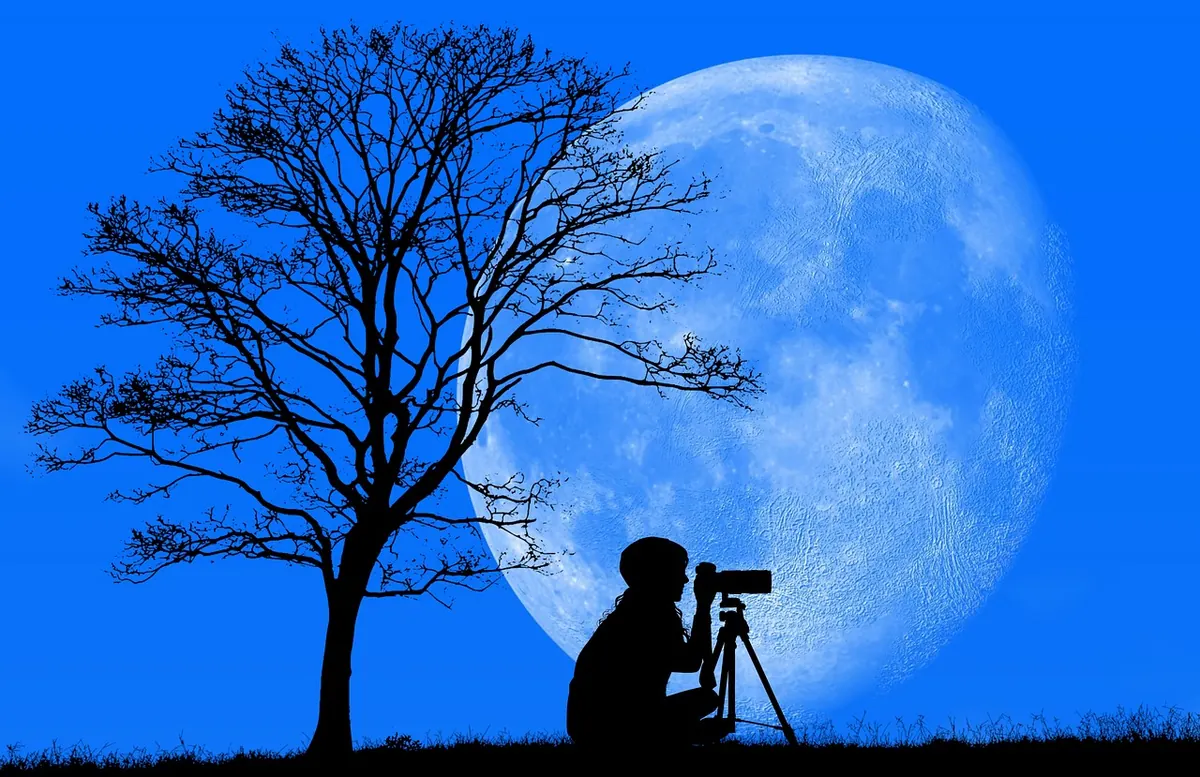
Every photographer who has ever looked up on a clear night has tried it. You point the camera at the Moon, press the shutter, and get a small white blob on a black rectangle — or a smeared egg with a glowing halo, or nothing at all. The frustrating part is that the Moon is not a hard subject. It is simply brighter and smaller than most people expect, and it moves across the frame faster than most people think. Nearly every disappointing moon photo comes down to one of three things: exposure, focus, or timing. Get those right and the craters appear.
The Moon Is Not a Night Scene
This is the biggest mistake of all, and it explains most of the blown-out white discs you see online. Your camera's meter looks at the whole frame: a vast expanse of black sky with a tiny bright object in it. It concludes the scene is dark and opens up the exposure, which turns the Moon into an overexposed blob with no surface detail left. The Moon is, photographically speaking, a sunlit rock in daylight. Expose for it that way.
Switch to manual mode and spot metering, or set the exposure yourself and ignore the meter's opinion. A reliable starting point is ISO 100, aperture f/8 or f/11, and a shutter speed around 1/125 second. This follows the old "Looney 11" rule: at f/11, the shutter speed is roughly one divided by your ISO. From there, look at the shot and adjust — a bright gibbous Moon wants a faster shutter, a thin crescent wants a slower one.
Two habits that make this easier
- Read the histogram, not the screen. An LCD at night looks bright and flatters everything. The histogram tells the truth: if the peaks are jammed against the right edge, you have clipped the lunar surface and the detail is gone for good.
- Keep ISO low. There is plenty of light coming off the Moon. ISO 100 or 200 gives clean detail; ISO 3200 gives you noise you will spend an hour trying to remove.
If you insist on automatic exposure, at least use spot metering and place the metering point on the lunar surface. Better still, bracket three frames a stop apart and pick the best one later.
Autofocus Is Working Against You
Autofocus needs contrast, and a small bright disc against a black sky offers very little to lock onto. Many beginners end up with a perfectly exposed, perfectly blurry Moon.
Switch to manual focus and use live view with magnification — most cameras let you enlarge the live image 5x or 10x. Turn the focus ring slowly back and forth until the terminator, the line between the lit and unlit sides, looks sharpest. That line is where craters cast their shadows, so it is the best focus target on the entire disc. After you shoot, zoom into the rear screen and check. The small preview you see at night is far too forgiving.
If you would rather stay on autofocus, use a single centre point placed on the edge of the Moon rather than its middle, and be ready to take over by hand when it starts hunting.
The Wrong Phase, or the Wrong Hour
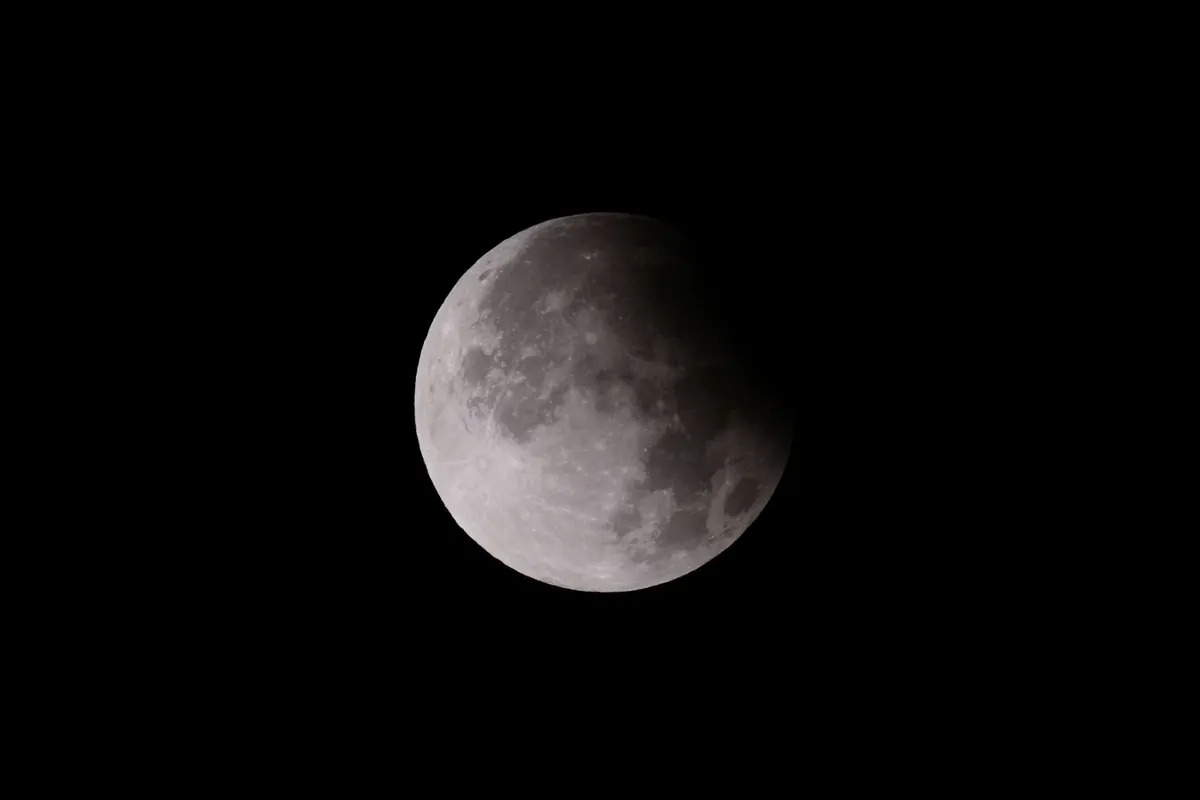
A full Moon is the worst phase for detail. The Sun is almost directly behind you, shining straight down on the surface, so there are barely any shadows and the craters look flat and pasted on. A few days before or after full — or around first and last quarter — gives you long shadows along the terminator and far more texture.
Height matters too. Low over the horizon, moonlight travels through much more atmosphere, which smears fine detail and adds a wobble that no amount of sharpening can rescue. The huge orange Moon rising behind a building looks wonderful to the eye; photographed at 600mm, it is usually soft. Wait until it climbs.
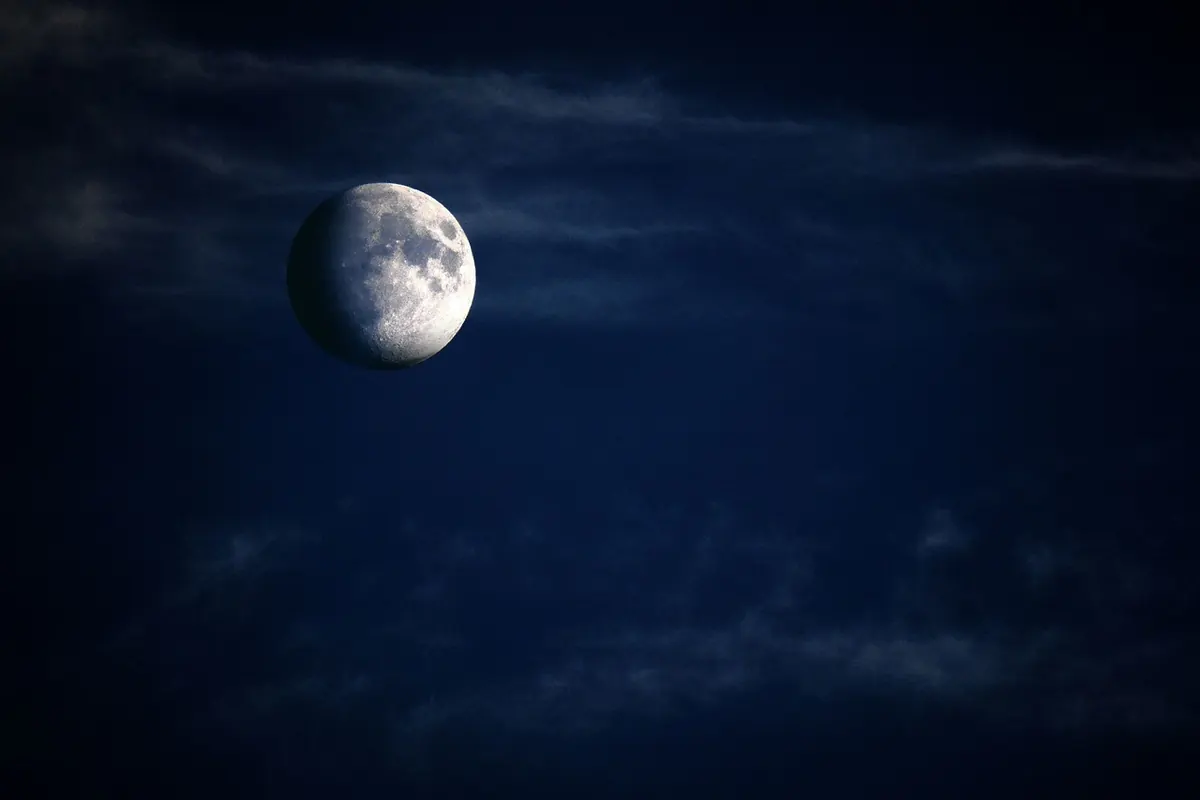
One underrated trick: shoot during twilight, while the sky is still deep blue. The brightness gap between Moon and sky is narrower, so you can hold detail in the lunar surface while keeping a natural-looking background. Two hours later, the same framing gives you a white disc on pure black.
Too Much Sky, Too Little Moon
The Moon is about half a degree wide — roughly the size of your little fingernail held at arm's length. Photographed at 18mm, it is a speck. A useful rule of thumb: the lunar disc measures about your focal length divided by 110, in millimetres on the sensor. At 300mm that is just under 3mm; at 1200mm it is around 11mm. That is exactly why the Moon looks so disappointing in phone photos.
Use the longest lens you own, and remember that a crop-sensor body will tighten the framing further. If your longest lens is still short, do not try to fix it with digital zoom; instead take a clean frame and crop later. A properly exposed, sharply focused image survives cropping far better than a soft one ever will.
Long Exposures and Wobbly Supports
You do not need a long exposure for the Moon. It is bright and it moves. Anything past a second or so risks motion blur at long focal lengths, and there is no benefit at all. Keep the shutter at 1/125 or faster where you can.
Stability still matters, because a 600mm lens magnifies every micro-shake. Work through this before you shoot:
- Mount the camera on a solid tripod and avoid raising the centre column.
- Turn off image stabilisation when the camera is locked down — some stabilisers drift slightly on a tripod.
- Use a two-second self-timer or a remote release so your finger does not shake the rig.
- Enable mirror lock-up if your camera offers it, and shield the lens from wind.
Handholding works with a wide lens and a bright Moon, but at long focal lengths it is a lottery.
Sharpening Until It Looks Like a Sticker
The last mistake usually happens at the computer. Beginners push clarity, sharpening and contrast until the Moon wears a bright ring and the dark maria look like smeared paint.
Work from a raw file if your camera can produce one. Pull down the highlights first to recover the bright surface, then sharpen in small amounts, checking at 100% rather than fitting the whole image to the screen. A halo along the limb means you have gone too far. Keep white balance neutral, too: the Moon is grey, and warming it up to "look nicer" usually reads as artificial.
A Short Field Checklist
Before you press the shutter: manual exposure, spot metering, ISO 100, f/8 to f/11, shutter near 1/125. Manual focus at 10x magnification on the terminator. Tripod steady, stabilisation off, two-second delay. Then take the shot, zoom in on playback, and adjust instead of hoping. Ten minutes of that routine will teach you more than a week of reading. Once you have a clean, sharp disc, the real fun starts — catching the Moon beside a planet, slipping behind a skyline, or a day past full when the shadows are at their finest.
Photo: rauschenberger / Pixabay